Wishes taken at point of sale (POS) include the option to send a notification to a potential customer. However, using the Email Wishes feature in the Customer area, you can create a mailing for a number of wish lists.
NOTE: The recipient of the list is the person indicated in the original wish creation. Make sure you check the recipient before sending these emails.
 This process could take some time to run. You might want to wait until off hours to run it.
To send wish list emails:
- Select Customer > Wish Lists > Email Wishes. The Wish List Email Filter will appear.
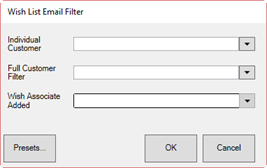
You can develop a mailing list for wish list emails in one of three ways:
• By individual customer
• By a group of customers
• By the associate or associates who took the wish.
- Use the appropriate find filter to create the desired list. A matching list of wishes will appear.
a. Individual customer. The Wish Lists to be mailed window will appear with a list of that customer’s wishes.
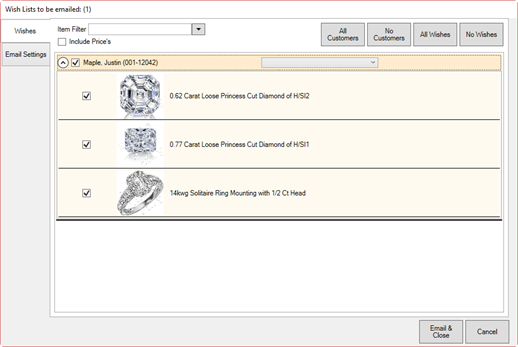
Use the down arrow next to the customer’s name to see his or her wishes. By default, the customer’s wishes will be checked. Use the checkboxes, All Wishes or No Wishes to determine what wishes should be emailed.
b. Several customers. The Wish Lists to be emailed window will appear with matching customers and their wishes.
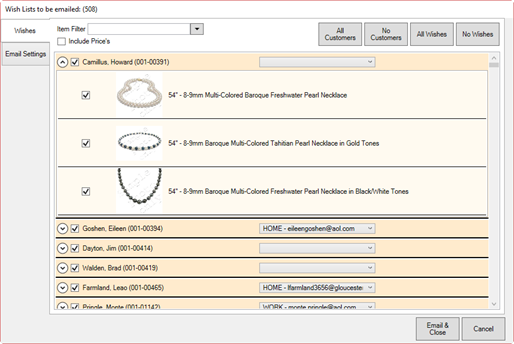
Using the down arrows next to each customer’s name, you can see his or her specific wishes. By default, all customers and all wishes will be checked. Use the checkboxes, All Customers, No Customers, All Wishes, and No Wishes to specify which emails to send.
NOTE: You can use the Wishes tab of the find filter to build the list.
c. By associate. Use the Associate drop-down from the Wish List Email Filter to select the associates whose customers’ wishes you want to send. The Wish Lists to be emailed window will open. It works just like the results using several customers. Make your selections.
- Select the Email Settings tab to set up the email template.
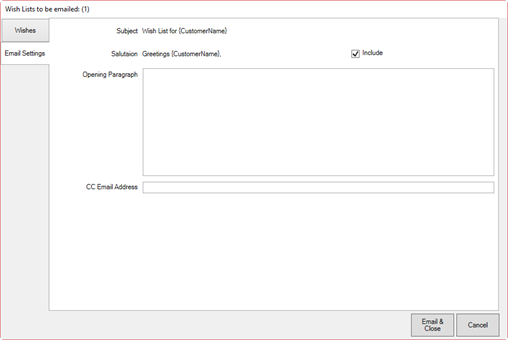
The Edge will complete the name and email address for selected recipients when the emails are sent.
NOTE: Email headers, footers, and greetings are set in Administrative > Notifications, so opening text is optional.
- Select Include to include the salutation shown.
- If desired, enter additional or custom text for an opening paragraph.
- Enter an additional email address if desired. Use a semicolon to separate multiple entries.
- When all selections and settings are complete, select Email & Close. The emails will be sent.
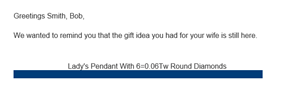
A sample wish list email might appear as follows.