To create a Timed Automation Rule:
- Click Administrative > Automation Rules.
- At the bottom, click the Add Timed Rule button. This will open the Timed Automation Wizard.
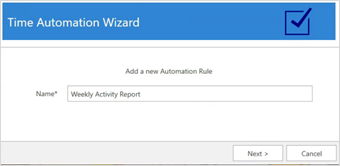
- Enter a Name for this rule and click Next.
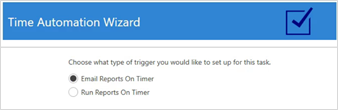
- Choose whether you want to Email or Save the reports on a timer, then click Next.
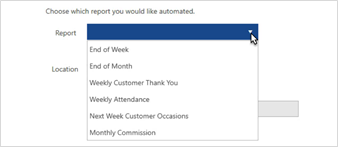
- Use the Report drop-down to choose which memorized report you want to schedule.
- Your next options will differ depending on whether you chose to Email or Save the reports. Click Next after completing one of the following:
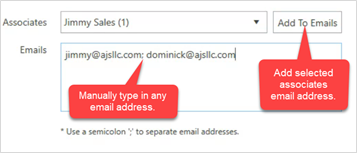
a. If you selected Email, choose an Associate and click Add to Emails to add their email address in the Emails section. Alternatively, you can type any email address directly into that section as well.
b. If you selected Save, use the Location drop-down to choose where to save the reports.
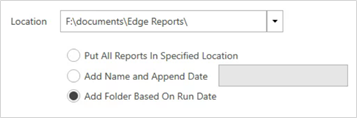
These options control how the report is saved:
|
Put All Reports in Specified Location
|
Report will be saved directly to the location specified.
|
|
Add Name and Append Date
|
Report will be saved directly to the location specified and anything typed into the field here will be prepended to the report file name.
|
|
Add Folder Based on Run Date
|
A new folder will be created in the location specified. This folder will be named after the run date, i.e., 01_25_2022, and the report will be saved within this folder.
|
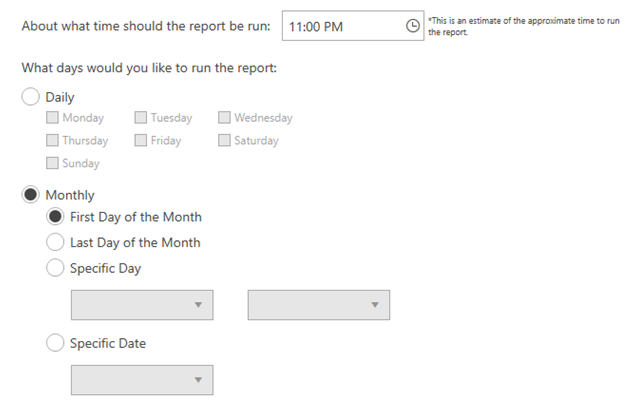
- This is where you set the schedule. Enter a Run time at the top, then determine whether you want to run this on a Daily or Monthly basis.
- Click Save Rule after setting the schedule, then click Finish.