You can choose to select from one of the pre-loaded color schemes options, or you may instead choose to create your own by selecting Custom from the POS Color Scheme drop down menu in System Options.
Requirements
In order to use this feature, you must first verify that the Edge's "Show Background Texture" theme has been set to False in your System Options.
To turn off the textured background:
- Click Administrative > System Options > General Options.
- Locate the option named Show Background Texture and click the drop-down arrow to set as False.
NOTE: If your option is already set to False then no further action is necessary. You may begin to use this feature by following the steps in the next section below.
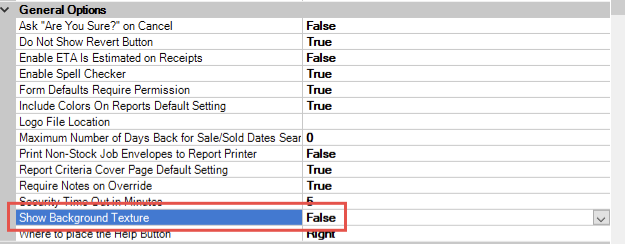
- Click OK to save your changes, then restart Edge to apply your changes.
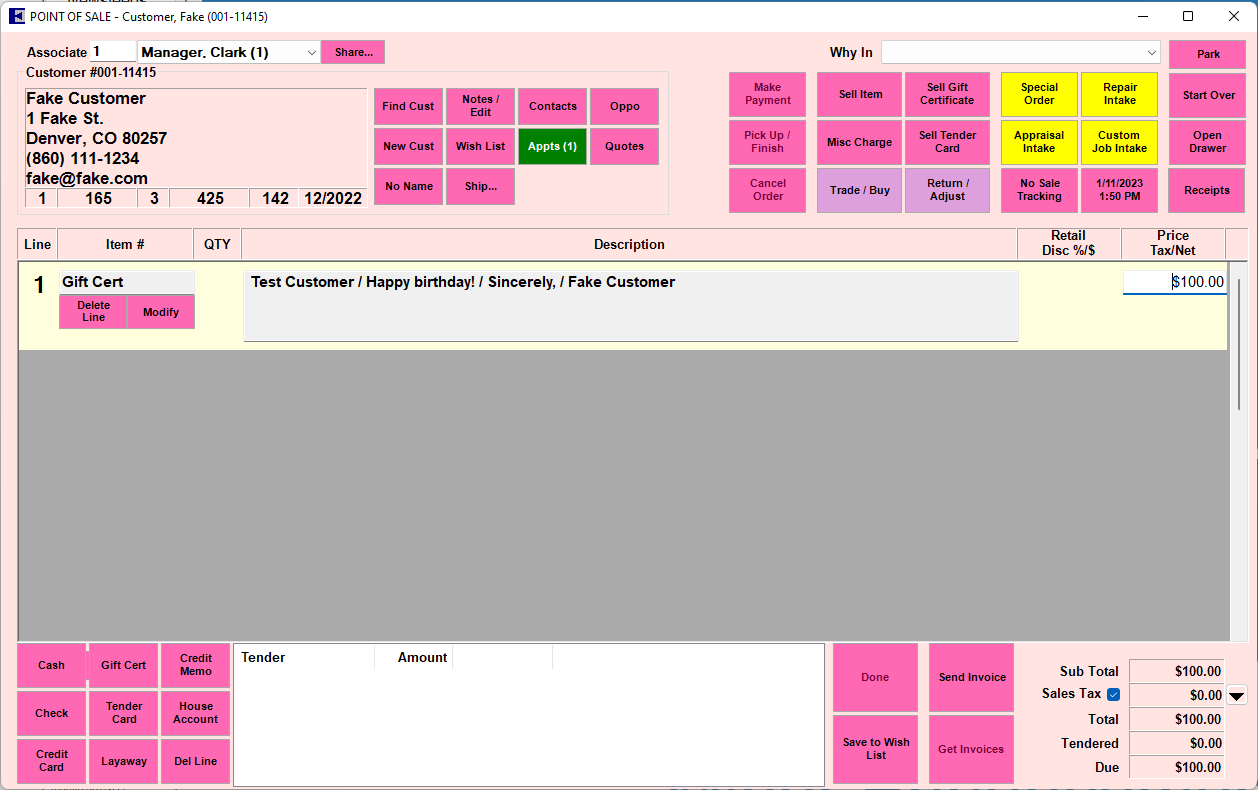
| With Show Texture Background set to False, your POS should now look like this: |
 |
For comparison, this is an example of POS with Show Texture Background set to True: |
 |
Customize POS Colors
To customize your color scheme in POS:
- Go to Administrative > System Options.
- Scroll down to the section named POS Options Scheme.
- Click POS Color Scheme and select Custom.
- Highlight the line that corresponds with the section of POS you are looking to change.
- Type or copy/paste the 3 RGB numbers into the box, each separated by a comma.
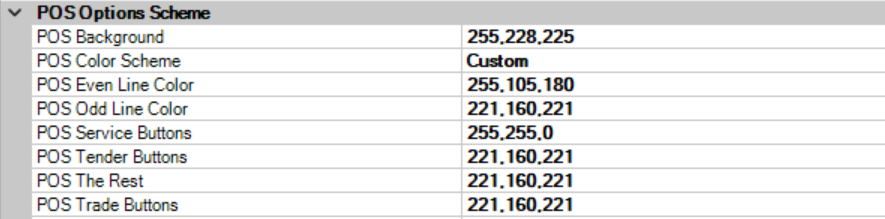
- Click OK to save your color choices.
- Close/Reopen POS to apply your changes.
Note: Custom colors will only be honored if Custom is chosen as the scheme. Otherwise, any specific color values will be ignored and the selected Pre-Loaded Scheme will be used.