The Edge contains lists that populate drop-down menus, for example on the Details tab of category setup for each category. For example, a category may contain a detail named Metal with a detail type of PrecMetals. When an item is entered into this category, it will contain a detail field named Metal with a drop-down menu containing the predefined choices. These predefined choices are pulled directly from the PrecMetals list. The Edge knows to use this list because it is defined as the Detail Type for the detail Metal.
Any custom list that you create will show up as an available Detail Type for any detail in any category. We recommend that you use lists were applicable to standardize the inventory process. This is especially helpful if you have multiple associates entering inventory as it keeps them consistent. Other management might include reordering lists according to your usage, i.e., the items in the list will appear in the drop-down menus in that order, so if you use a certain kind of item value a lot, you might order it near the top of the system list.
You will usually be working with an existing list. Continue reading to learn how to work with existing lists, as well as how to create new lists.
Existing Lists
- Select Administrative > Lists. The List of Lists window will appear.
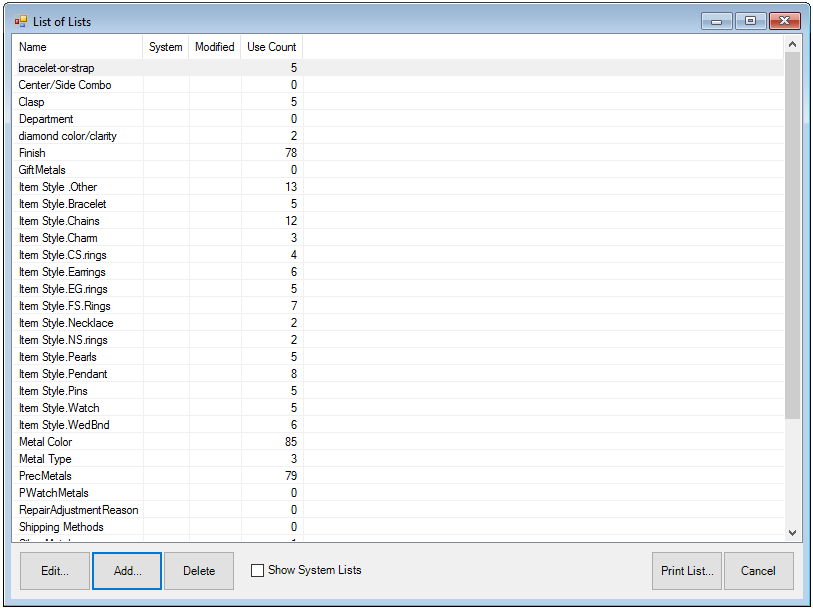
- Select the list with which you wish to work and select Edit. The List record will appear.
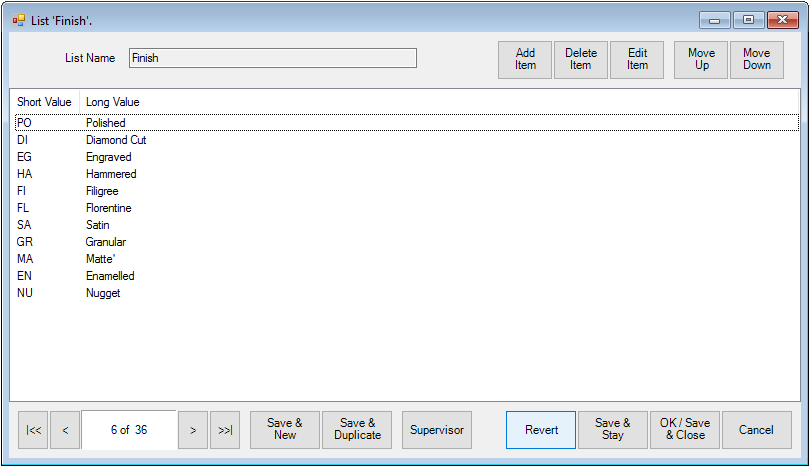
Fields and options in the List record include:
|
Add Item
|
Used to add a value to the drop-down list.
|
|
Delete Item
|
Used to delete a value from the drop-down list.
|
|
Edit Item
|
Used to edit a value.
|
|
Move Up
|
Used to move a value up in the list. This will make it appear higher in the drop-down list.
|
|
Move Down
|
Used to move a value down in the list. This will make it appear lower in the drop-down list.
|
- Select a Save option.
New Lists
To create a new list:
- Select Administrative > Lists. The List of Lists window will appear.
- Select Add. The New List window will appear.
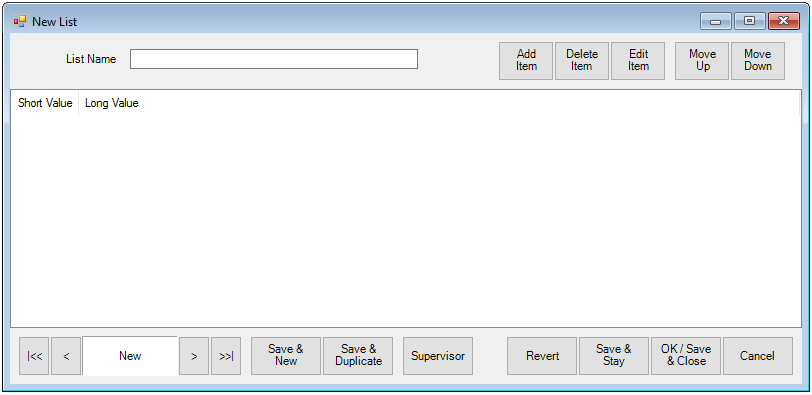
- In the List Name field, enter a meaningful name for the list.
- For each value to be included in the list, select Add Item. The List Item window will appear.
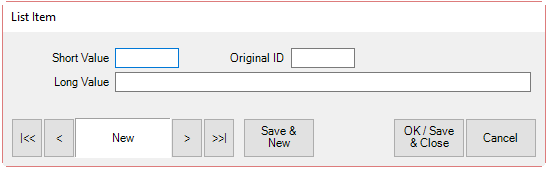
- Enter a Short Value, which is analogous to a key or short cut.
- Create an Original ID, which is a unique identifier. This can be the same as the short value.
- Enter a Long Value, which is a more descriptive list value name. The long value is what shows on the screen.
- Select Save & New to add more list values or OK/Save & Close if you are done adding values.
- Be sure to go to the category record, Category Details tab and select the new list for a Detail Type.
System Lists
There are several other lists that are defined as System Lists. These default to The Edge’s commonly used options. We do not recommend modifying the short value of any record on the System List without consulting The Edge Support Team.