Microsoft OneDrive offers a free, basic version that provides up to 5 GB of online cloud storage. It is not necessary to upgrade to any of the paid versions - the free basic edition satisfies The Edge requirements.
If you have never used OneDrive before, you will need to complete the following before proceeding:
Once installed, you must set up OneDrive on your Edge workstation:
- Locate the OneDrive icon in your Window's system tray (bottom right, by the clock).

- Left click on the OneDrive icon, then use the Sign In button to login with your Microsoft Account.
NOTE: If you are already logged in, skip step 3.
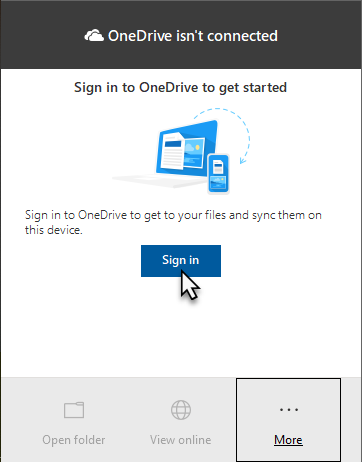
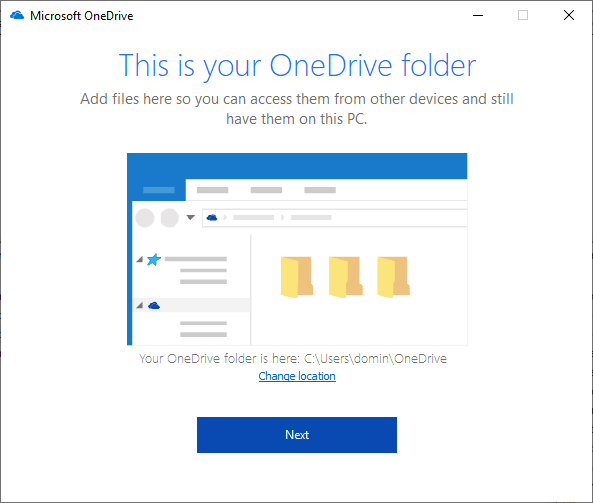
- If this is your first time signing in you will be prompted to complete the setup wizard. Click your way through until it's completed. OneDrive will offer to upgrade you to the paid version - this is not required.
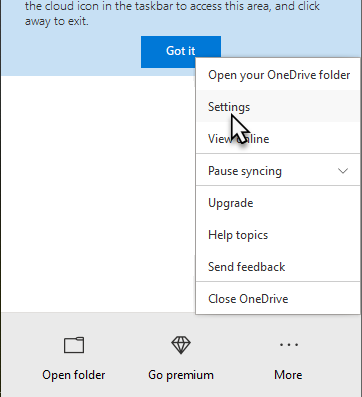
- Right click on the OneDrive icon in the system tray and left click Open your OneDrive Folder.
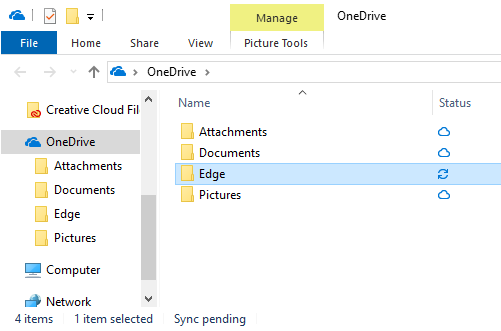
- Your OneDrive folder will appear showing which folders are currently synchronized with the cloud. These folders can be changed by going to Settings > Account tab and using the Choose Folders button.
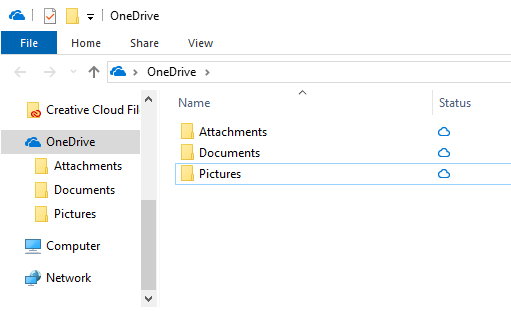
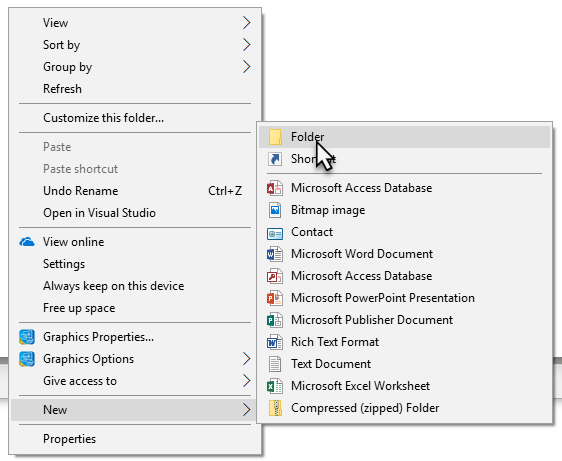
- Right click on an empty spot within this folder, then select New > Folder. Name this new folder Edge.
- Right click on the OneDrive icon in your system tray, then left click on Settings.

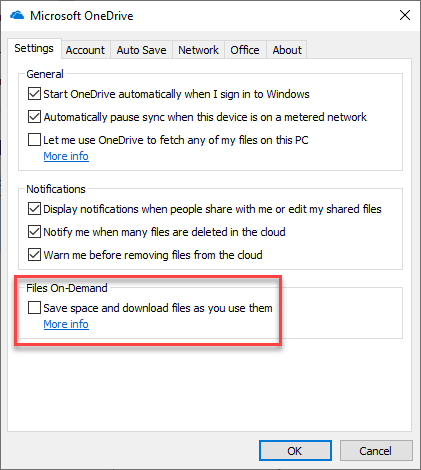
- Click on the Settings tab. In the Files On-Demand section, find the option Save space and download files as you use them and make sure this option is unchecked.
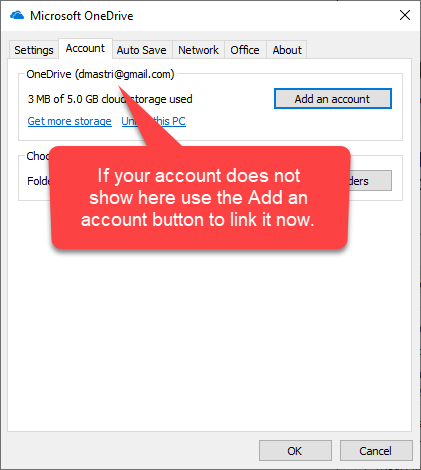
- Click on the Account tab. Verify the correct account is linked at the top. If no account shows as linked, use the Add an account button to link it now. If you had to link your account now, you may need to repeat steps 4 - 8.
- Click OK to save your OneDrive changes. The OneDrive portion of setup is now complete.