All images in The Edge, including item images and customer photos, have a context menu of available actions. This includes places where there is only an image placeholder.
NOTE: More than one image can be associated with the record.
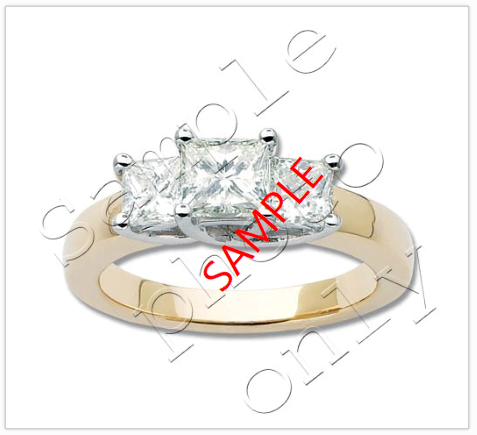
Item Image:
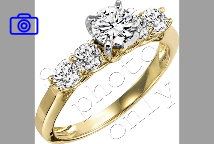
Image Placeholder:

The camera icon ( ) contains the photo menu to capture an image of the item. Depending on the record type, options can include:
|
Acquire
|
Obtain a photograph using your TWAIN device.
|
|
Retake Image
|
Allows you replaces the image currently displayed. It is only available when an image already exists using your TWAIN device.
|
|
Copy File
|
Allows you to browse for a photo file and copy it into The Edge photo folder. It also associates the file with the record.
|
|
Use File
|
Associate an existing file with this record. It can be an image, but it can also be anything you want to associate with a customer or item record: for example, a pdf of an invoice or an appraisal document, or even a fax. Use the Windows file window and change the file type filter to All Files to see all your options.
If the target is outside the photo folder, you will be prompted to copy the file to the photo folder. If you opt not to copy the image, it will not be shown.
|
|
View Image
|
Opens the image in the Windows photo gallery.
|
|
Edit Image
|
Allows you to work with the image in an image editor. See the section below about editing images.
|
|
Print Image
|
Prints the image to your report printer.
|
|
Image Properties
|
Opens the Windows File Properties window.
|
|
Copy Image to Clipboard
|
Puts the image in the clipboard to paste elsewhere.
|
|
Copy File Name to Clipboard
|
Puts the file name in the clipboard to paste elsewhere.
|
|
Make Default Image
|
Makes this the default image.
|
|
Remove Image
|
Removes this image from this record.
|
|
Remove All Images
|
Removes all images from this record.
|
|
Select Source
|
Choose the twain device or camera to obtain a photo.
|
|
Cancel
|
Cancel the photo menu.
|
To work with an image using the Image Editor:
- Select the desired image within the desired record.
- Select Edit Image from the image control context menu. The Edit Image window will open.

Functions available in the Image Editor:
|
Transform
|
|
|
|
|
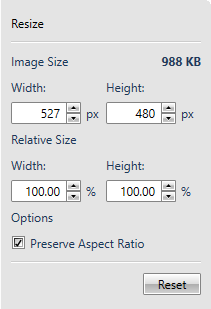
Resize
|
Resizes the image in pixels or in percentage of the current size.
|
|
|
|
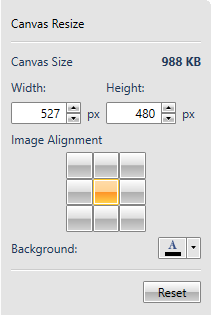
Canvas Resize
|
Resizes the canvas. The canvas is the space in which the editor works. In the example above, the canvas is the same size as the image. If you make the canvas larger, you will see a background. If you make it smaller, the image will cover the canvas or even be cropped to fit on it. You can change where on the canvas the image falls and the color of the canvas.
|
|
|
|
Rotate 90
|
Rotates the image 90 degrees clockwise.
|
|
|
|
Rotate 180
|
Rotates the image 180 degrees clockwise; this is in addition to previous rotations.
|
|
|
|
Rotate 270
|
Rotates the image 270 degrees clockwise; this is in addition to previous rotations.
|
|
|
|
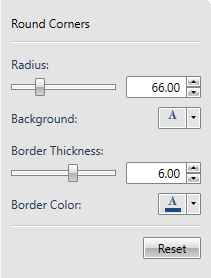
Round Corners
|
Rounds the images corners. Use Radius to set how much rounding to use. Use border to add a border to the image. Notice that rounding won’t show on a white background unless you add a border.
|
|
|
|
Flip Horizontal
|
Reverses the image left to right.
|
|
|
|
Flip Vertical
|
Reverse the image top to bottom.
|
|
|
|
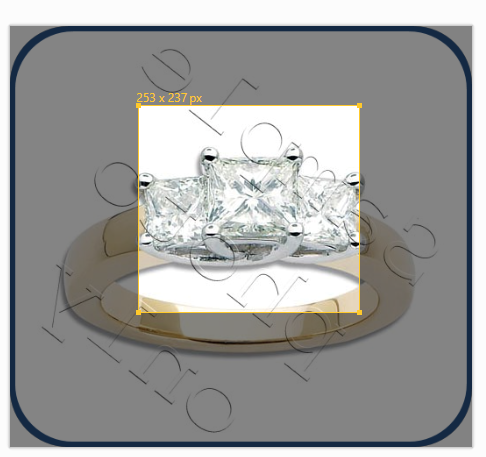
Crop
|
Creates a window to frame out and crop the image.
|
|
|
|
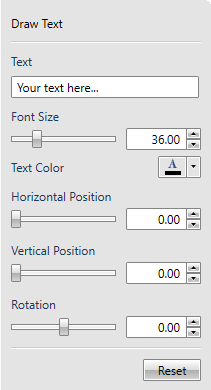
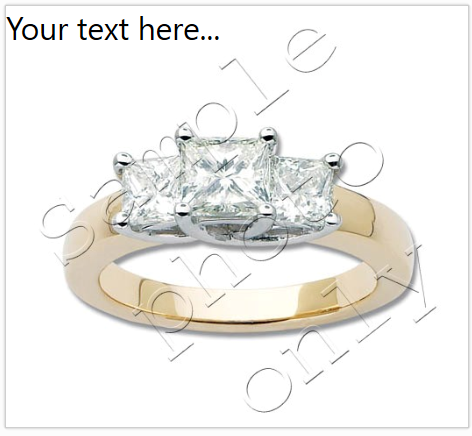
Draw Text
|
Allows you to add and place text on the image. You can change the size, color, location, and rotation of the text over the image.
|
|
|
|
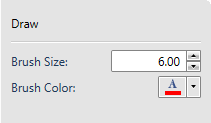
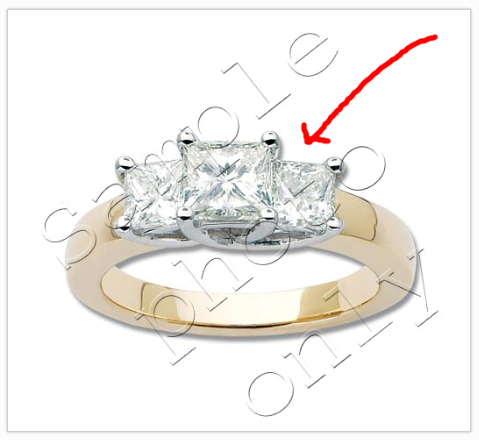
Draw
|
Allows you to draw illustrations on the image.
|
|
|
Adjust
|
|
|
|
|
Hue Shift
|
Allows you to change the hues/colors of the image by shifting through the color wheel.
|
|
|
Saturation
|
Allows you to reduce or increase the depth of existing colors.
|
|
|
Contrast
|
Allows you to reduce or increase the contrast between existing colors.
|
|
|
Invert Colors
|
Reverses the image like a negative. Dark colors become light and light colors become dark.
|
|
Effects
|
|
|
|
|
Sharpen
|
Allows you to sharpen the lines in the image.
|
|
|
|
Blur
|
Allows you to soften the lines in the image.
|
- Use the image commands to make changes to the image.
- Select a Save option.
- Save As New creates a new file from the edited image.
- Save and Close saves the open image with the changes.
- Reset, where available, removes any changes made since the last time you saved.
- Commit Changes will exit any editing functions and save the results. If you hit Enter from any of the control boxes, your changes will be committed.
- Zoom lets you view the image larger or smaller. It does not change the image size, just the view.