Make sure you extracted (unzipped) the downloaded file before proceeding.
To import a tax table:
- In The Edge, click on Administrative > Sales Tax > Shipping Tax Import Wizard.
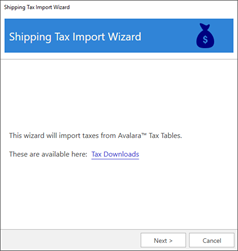
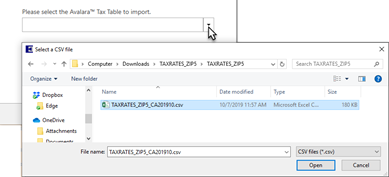
- Click Next. Use the drop-down to navigate to the path of the extracted tax table. Select the file to import and click Open.
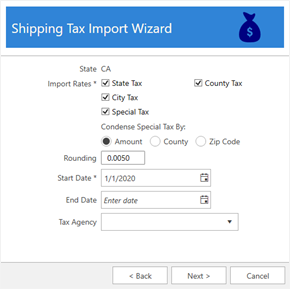
- Choose which Rates (State, City, County, Special) to import and set import options, then click Next.
|
Condense Special Tax By
|
Some tax tables include special tax rates. These can be things like district taxes, stadium taxes, etc. If present, this option defines how to add them.
|
Amount
|
Special taxes of the same amount will be condensed to a single definition.
|
|
County
|
Special taxes for the same county will be condensed to a single definition.
|
|
Zip Code
|
Special taxes for the same ZIP code will be condensed to a single definition.
|
|
|
Rounding
|
Defines threshold at which partial change gets rounded up. The default is 0.0050, e.g. $1.005 would round up to $1.01 while $1.004 would round down to $1.00.
|
|
Start / End Date
|
Dates these taxes will be effective.
|
|
Tax Agency
|
For QuickBooks, the tax agency to assign these to.
|
- Select which Categories these taxes will apply to, then click Next.
- Choose which Services and Stores these taxes will apply to, then click Next.
- Choose which Miscellaneous Items these taxes will apply to, then click Import Taxes to complete the import process.
- You must restart The Edge before these changes take effect.