To create a new PO:
- Click Inventory > PO > Add.
- Select the Vendor. If there are queued items waiting they will pop up now.
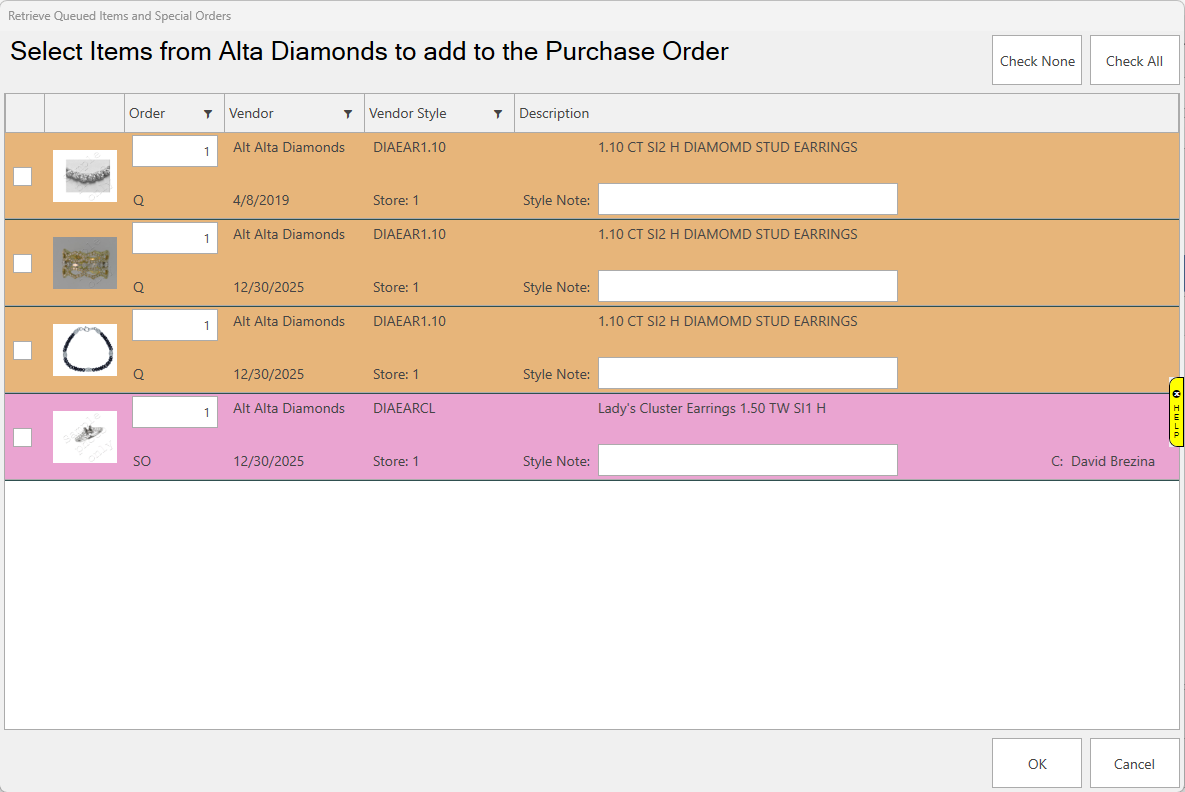
Each queued item indicates what store it is for below the vendor style #. Items queued for special orders (purple) will also list the customer’s name.
- Select the queued items you wish to place on this PO and click OK.
NOTE: You can get back to this window using the Retrieve Queued button.
- Optionally, assign this PO to a store using the PO Store drop-down in the center. Allocate to this Store must be checked for allocation to occur automatically. The PO can still be unassigned if this box is left unchecked, even if the store is selected. The Ship to Store is a required field and managed as "Shipping Locations".

- Complete the remaining shipping information at the top (Ship Via, ETA, Note).
- Use the Add Line button to create additional PO lines to order items that were not previously queued. Each PO line contains a drop-down allowing you to assign it to a store. This is not required and, even if set, can be overridden when you use Receive Invoice to add these items.

You can use the Vendor Style drop-down to select an existing item to copy from or, if this is a new item, enter its details now.
- Save your PO.
a. If ready to submit, you can use Submit & Print or Submit & Email. This will save the PO and mark the items as ordered.
b. If not ready to submit, use one of the other save options. This will leave the items as entered on the PO, but not ordered. You will not be able to receive them until they are ordered.
NOTE: The PO Settings button at the bottom can be used to change what vendor information is printed. If the vendor record has incorrect information you can correct it via the Edit Vendor button in the top left. This button also lets you change shipping information for your store.