To intake a new custom job:
- Open POS and click the Custom Job Intake button. The Custom Job Intake window will appear with the General tab open.
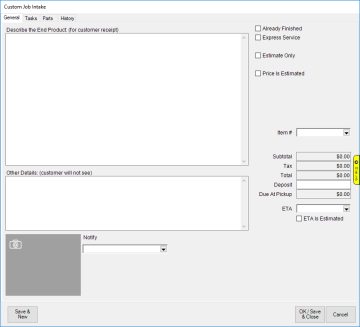
Fields and options on this tab include:
|
Describe the End Product
|
Enter a description of the final product; this will print on the receipt
|
|
Other Details
|
Additional details only for internal reference; does not print on customer receipt
|
|
Already Finished
|
Turns this into a 1-step custom job that is finished and picked up immediately
|
|
Express Service
|
Marks this custom job for express service; System Options control the factor by which this increases the price
|
|
Estimate Only
|
Marks this custom job as an estimate only; customer must approve before work begins; to approve, fill in the Approve On date field on the custom job via edit
|
|
Price is Estimated
|
Check this if the price is estimated
|
|
Item #
|
Allows you to select a currently in stock item or previously sold item for repair; its details will be copied to the description
|
|
Deposit
|
Enter customer's initial deposit
|
|
ETA
|
Completion date; check the box if this is an estimate
|
|
Camera Icon
|
Opens photo interface allowing you to acquire a new photo or link to existing images; you can do this multiple times to link multiple pictures
|
|
Notify
|
Contact information for person that should be notified when repair completed; can be setup to automatically text or email when repair marked as done, see Notifications for more information
|
- Complete desired fields then click on the Tasks tab.
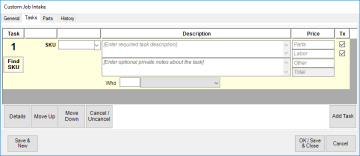
- A custom job must have at least one task describing the work being done. Enter Description and Price details on the task line. Alternatively, use the Find SKU button to look up an existing repair SKU by its search keys. See Repair SKUs for information on setting these up.

- To enter additional information, such as cost or more thorough detail, click the Details button at the bottom. This will open the Custom Job Task Details window.
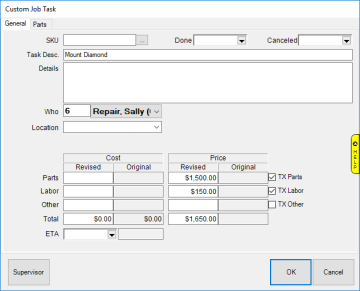
At initial intake, enter your cost and price into the Revised column. When you edit this job in the future these values will automatically move to the Original column.
- Use the Add Task button to add as many tasks as necessary. To change the order the tasks appear and print, select the task and use the Move Up/Down buttons.
- Optionally, you can add parts to this job. To do so click on the Parts tab.
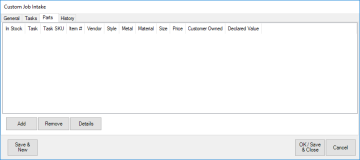
- Click the Add button and the New Part window will appear.
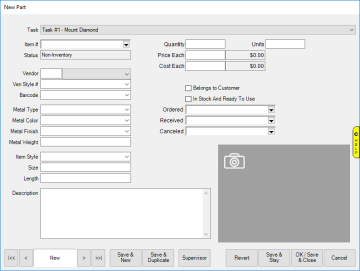
The task drop-down at the top links this part to a specific task.
- To use a part from inventory click the Item # drop-down and search for it. Otherwise, to use a non-inventory part, skip the Item # field and enter the details manually. Inventory items will not be taken out of stock ("consumed") until the repair is picked up.
- Optionally, visit the History tab to enter additional notes. This tab will keep a record of ongoing activity for this custom job. See Editing a Custom Job for more information.
- Click OK/Save & Close to add this custom job to the sale.
NOTE: The POS System Option "Use Small Task Lines" can be enabled to slim down the task line allowing you to fit more on the screen.