To bring up an existing customer group/list:
- Select Customer > Find and go to the Other Keys tab.
- From Group/Mailing List drop-down menu, select your list, and click OK.
- A list of customers in that particular group will be shown.
To remove customers from an existing group/list:
- Using Customer > Find, select the Other Keys tab
- Use the Group/Mailing List drop-down menu to find the group you wish to edit.
- Click OK to close the Group/Mailing List filter.
- Click OK from the Customer Find filter to start the search. A list of customer in the group will appear.
- Right click anywhere in the list and select Show Checkboxes from the context menu.
- Right click again anywhere in the list and select Check All.
- Go through the list and uncheck those customers you wish to remove.
- Select Group/Mailing List and choose your group/list again.
- Select the name and select Select.
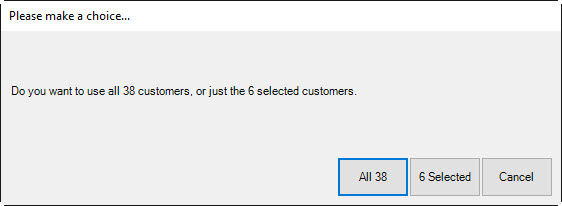
- You will be prompted to indicate whether you wish to use all customers or just those you selected. Choose just those you selected.
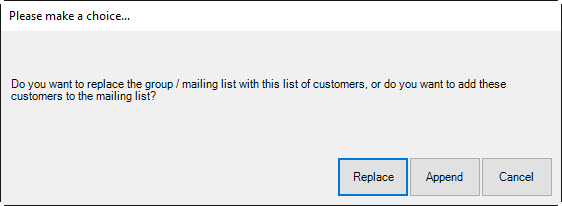
- You will be prompted to indicate whether you wish to Replace or Append. Select Replace.
To add customers to an existing list:
- Use Customer > Find to bring up those customers you wish to add.
- Right click anywhere in the list and select Show Checkboxes.
- Check all customers you wish to add to this list. You can right click again to use the Check All option.
- Select Group/Mailing List at the bottom and choose the group/list to which you want to add these customers.
- You will be prompted to indicate whether you wish to use all customers or just those you selected. Choose just those you selected.
- You will be prompted to indicate whether you wish to Replace or Append. Select Append.