Postcards can be scheduled to be automatically sent each week. This is useful, for example, in automating the process of sending thank you cards on new purchases or marketing to customer with upcoming occasions (e.g. birthdays, anniversaries). This feature requires additional setup in Windows Task Scheduler before it will run by itself, though you always have the option to manually run it here as well.
To schedule a postcard job:
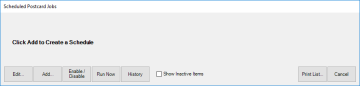
- Click Clientele > Print Marketing> Recurring Schedule. The Scheduled Postcards Jobs window will appear. If you had previously scheduled any jobs you will see them here, otherwise this window will be empty.
- Click Add. The Schedule Automatic Postcards window will appear.
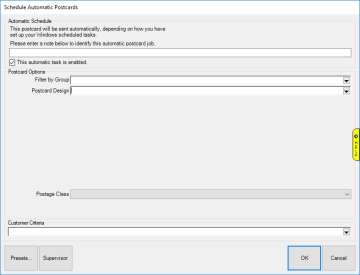
NOTE: This is identical to the Order Now window with the addition of the note field at the top to name the job.
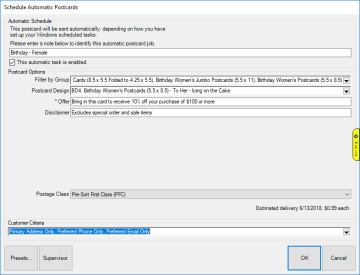
- Enter a note at the top to identify this job.
- Select a Postcard Design. You can use the Filter by Group drop-down to narrow down the available choices.
- Specify an Offer and Disclaimer. Depending on the postcard chosen these may be required fields. Then choose your Postage Class.
- Click on the Customer Criteria drop-down. This will open the customer filter. Depending on the postcard chosen, some of the options on the Results tab may preset (e.g. choosing a postcard for female birthdays addressee will preset to 'Female Celebrant').
- Visit the other tabs and specify desired criteria, then click OK. See Recommended Postcard Settings for suggested postcard mailing setups.
- Click OK to save this job.
 Scheduled postcard jobs are designed to run weekly so it is important that each job includes some customer criteria with a rolling date range of 7 days. For example, setting up a birthday mailing you should visit the Dates tab, select Birthday for Occasion, and then use the date drop-down to choose Rolling Weeks. Set both Min and Max to 3. This will instruct the software to identify customers with a birthday coming up in 3 weeks which is far enough out that the postcard will reach them in time.
Automating scheduled postcard jobs with Windows Task Scheduler
- In Windows, navigate to Control Panel > Administrative Tools > Task Scheduler. Or, click the Windows Start button and type Task Scheduler.
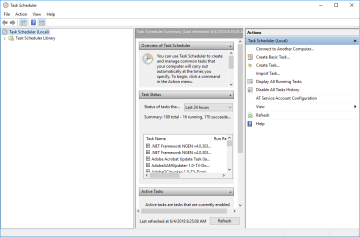
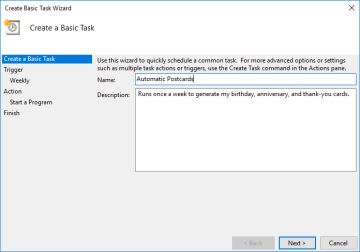
- On the right, click Create Basic Task. The Create Basic Task Wizard will appear.
- Specify a Name and Description, then click Next.
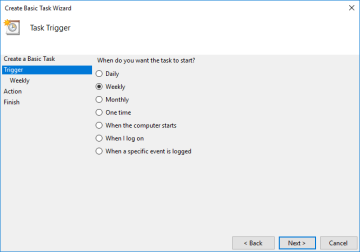
- Choose Weekly, then click Next.
- Select the day you wish to start, then set it to recur on the same day each week. Click Next.
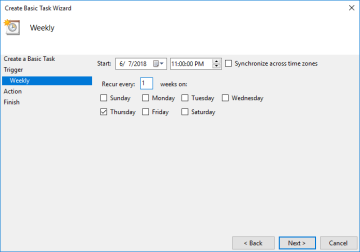
In this example we have set it to run every Thursday evening after closing. This will allow you to review the results on Friday and make adjustments if necessary.
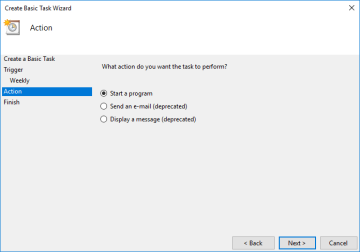
- Choose Start a program and click Next.
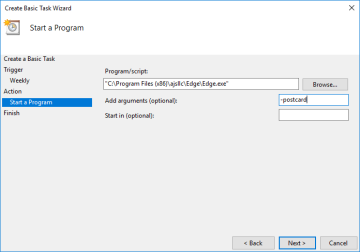
- Use the Browse button to find the Edge executable file (.exe file) (located at \Program Files(x86)\ajsllc\Edge\Edge.exe) or type the path in manually as "C:\Program Files (x86)\ajsllc\Edge\Edge.exe" (be sure to include the quotation marks).
Type -postcard into the Add Arguments field. Click Next.
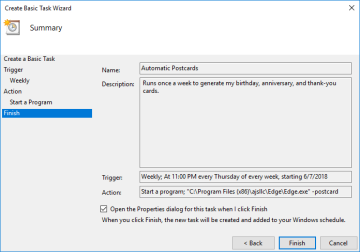
- The Summary will display. Check the Open the Properties dialog for this task when I click Finish box at the bottom, then click Finish.
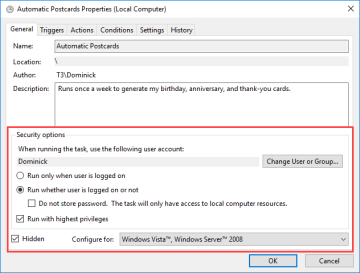
- The Properties window will appear. Under Security options, choose Run whether user is logged on or not. Make sure Do not store password is unchecked. Both Run with highest privileges and Hidden should be checked. Click OK to proceed.
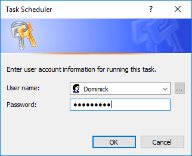
- You will be prompted to enter a user name and password. This Windows User account should have Windows Administrator privileges. Enter the information and click OK to complete setting up this task.
One of the most common problems we troubleshoot is when someone changes the password to a user name that is used for scheduled tasks and then the task fails to run. You may want to create a separate user account just for scheduled tasks and never change the password.